6.4. Auto-Response Email Configuration
The core function of Auto-Response Emails is similar to a regular email campaign or the Send Email action in an automated workflow, as they all involve sending bulk emails to a customer group. However, Auto-Response Emails have additional options for configuring send time.
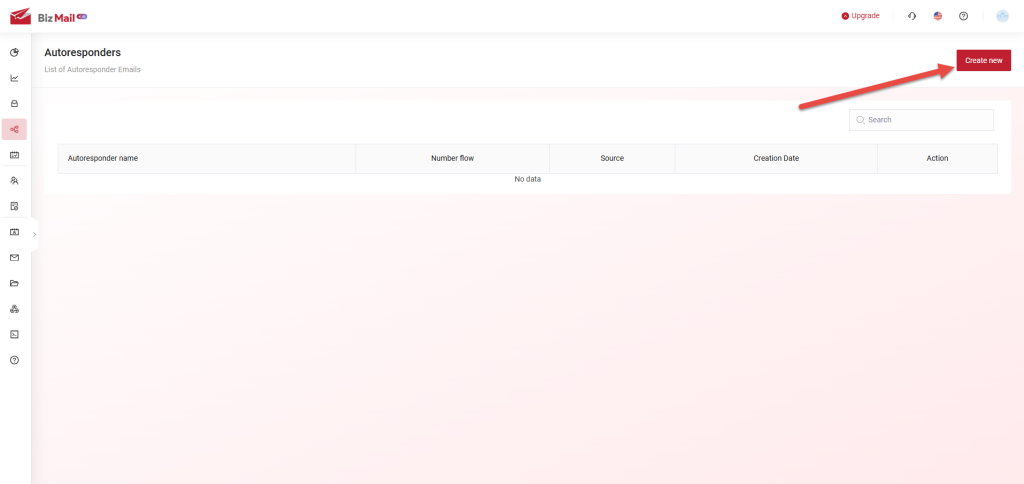
Step 1: Click Create new
 Step 2:
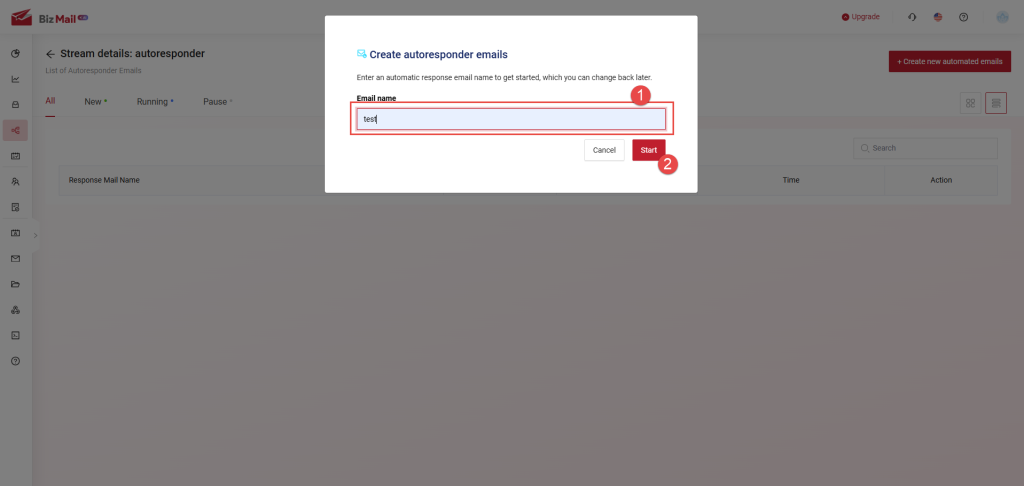
 Enter a name for the automated email flow and click Start
 Note:
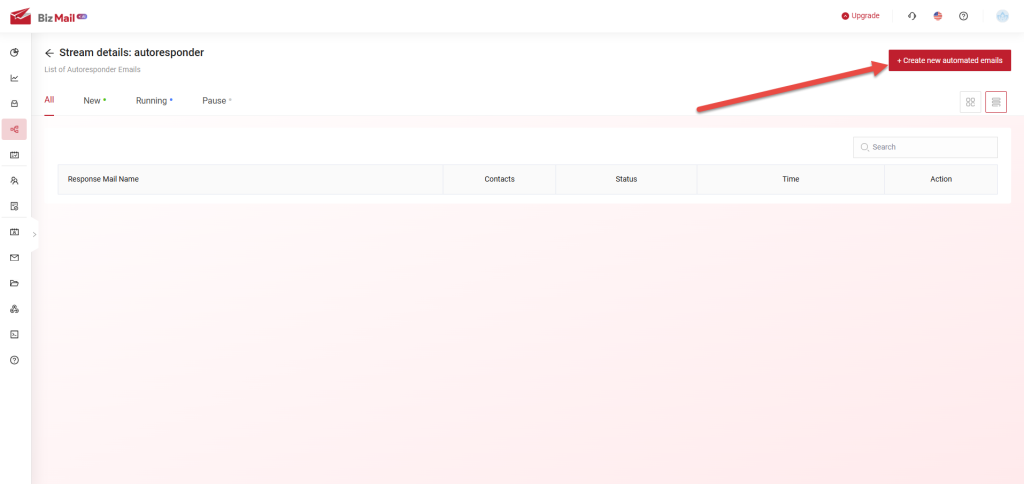
Note: Each automated email flow can contain multiple auto-response emails.
Step 3: Click Create new auto-response email
 Step 4:
 Enter a name for the auto-response email and click Start
 Step 5:
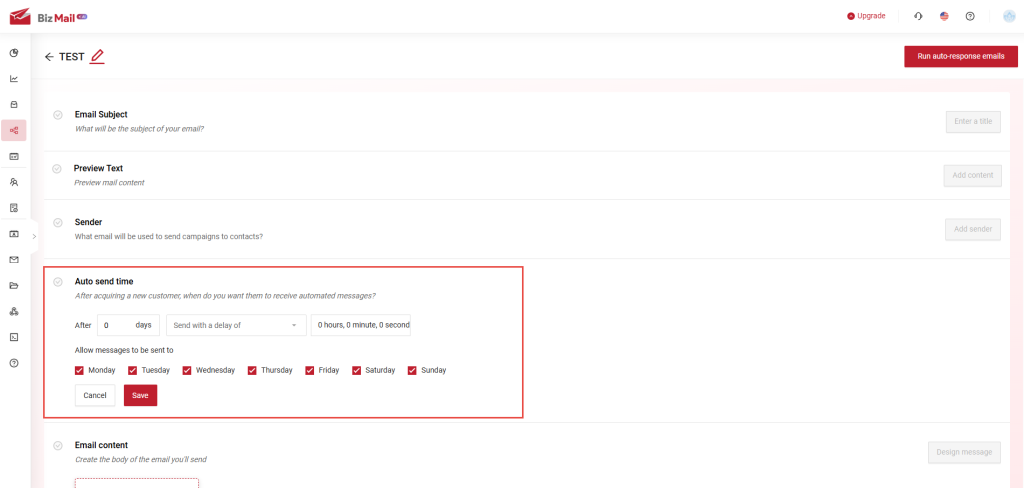
 The process for creating an auto-response email is the same as for a Standard Campaign, with one key difference: Auto-response emails include an extra setting for scheduling Auto Send Time.
 Step 6:
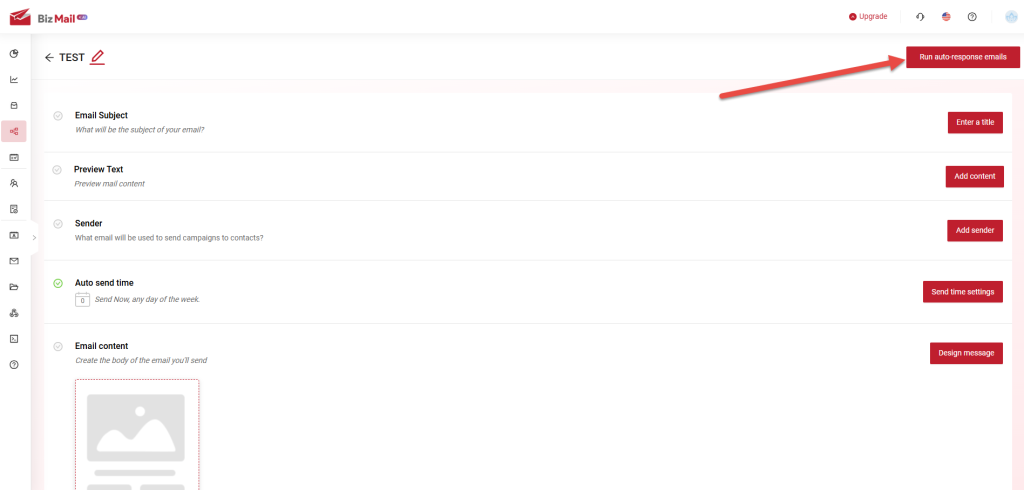
 Click Run auto-response email after finishing the setup
 Step 7:
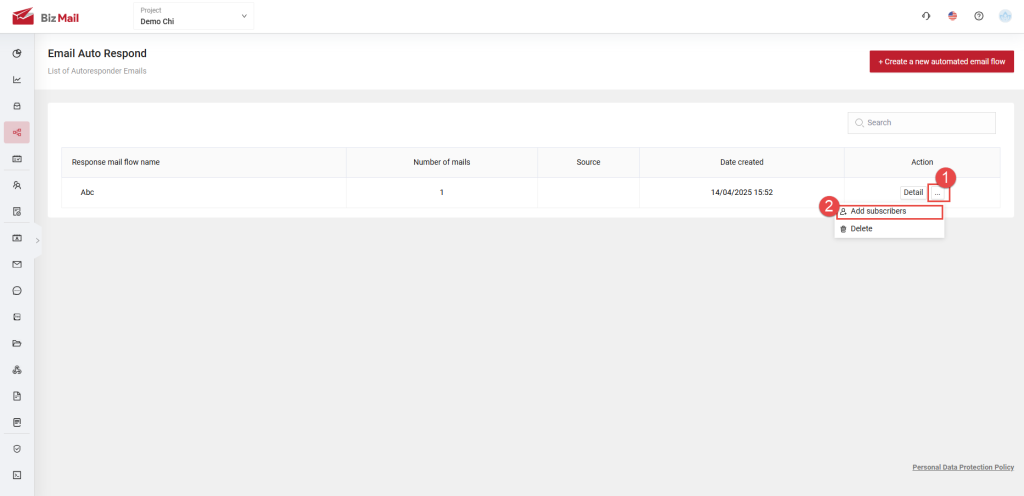
 The auto-response email campaign will be created, and you can click the “…” icon to Add subscribers
 Step 8:
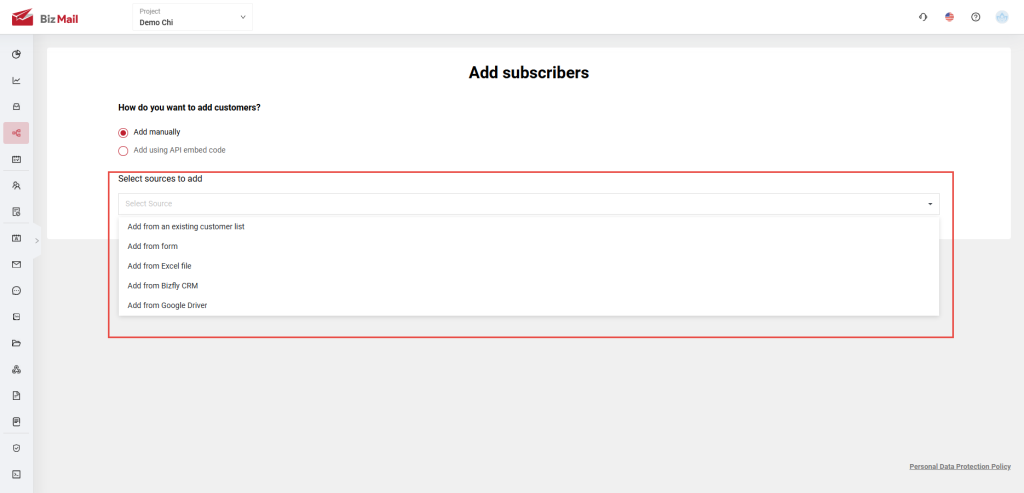
 Choose a Customer Source to add
 Step 9:
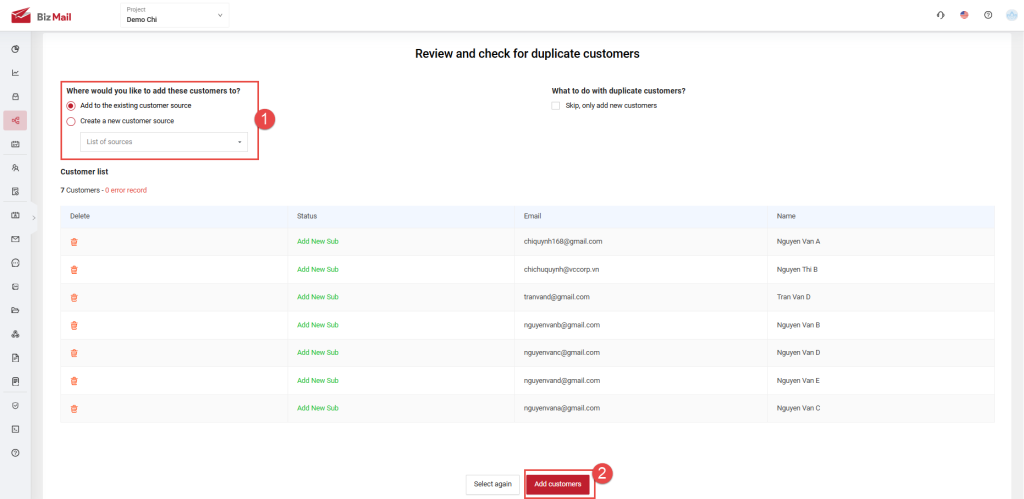
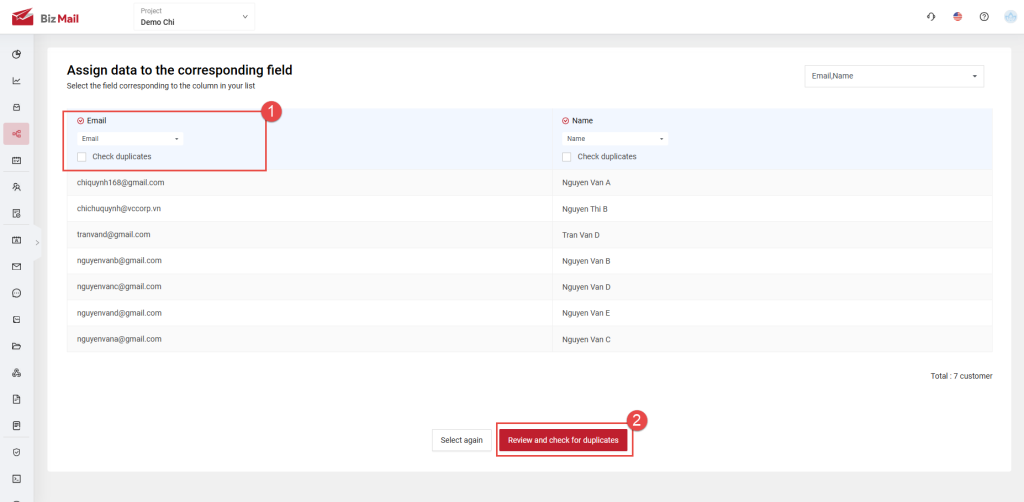
 Map your data fields to the corresponding system fields. Then click Review and check for duplicates
 Step 10:
 Select a customer source and click Add Customers to complete the process